How to Remove Background Noise from Audio (AI Methods)
Summary
To remove background noise from audio, you have three paths: real-time AI cancellation (Krisp, running as a virtual mic at 8-12 ms latency), post-production enhancement (Adobe Podcast Enhance Speech, free up to 1 hour/day), and acoustic treatment before the signal hits software. Each solves a different problem. This guide runs through which one fits your setup.
Here is how to remove background noise from audio without destroying your vocal frequency response. Three methods, each solving a different stage of the problem. Real-time AI noise cancellation running in your signal chain. Post-production enhancement on recorded files. Acoustic treatment before software touches anything. Each has a cost: real-time tools add latency measured in milliseconds, post-production tools need clean handles and react badly to extreme noise floors, and acoustic fixes need physical space. This breakdown covers what each method does, where it fails, and what the numbers look like in a real session.
Your Room Is Noisier Than You Assume
The noise floor in a standard home studio or bedroom streaming setup sits between -60 dBFS and -45 dBFS without acoustic treatment. That range includes HVAC, street traffic, laptop fans, refrigerator compressors, and chair creaks layered over each other. Most of it concentrates below 500 Hz, which means it rides underneath your voice frequencies rather than sitting in an obviously different register.
Standard EQ cuts at 80 Hz or 100 Hz handle the subsonic rumble, but they don't touch the broadband noise that makes recordings sound like they were captured in a cardboard box. That noise has energy spread from 100 Hz to 8 kHz, which is exactly where your voice lives.
The problem intensifies live. A static noise floor at -50 dBFS is manageable; the AI can model it and subtract it. A noise floor that changes dynamically, a car door outside, a neighbor's TV cycling on and off, wind gusts hitting a window, means the model has to track a moving target. The better AI tools do this in 20-50 ms processing windows. The ones that don't produce artifacts that sound worse than the original noise.
Before reaching for any software, check your gain staging. If you're pushing your preamp above +50 dB on a dynamic mic to get a usable signal, your self-noise is already in the problem. A condenser at a closer distance or a proper preamp brings the signal-to-noise ratio (SNR) up before any processing touches it. AI noise removal works best when the SNR is above 10 dB. Below that, you're asking the model to do math it wasn't trained to do.
Real-Time vs Post-Production: Make This Call First
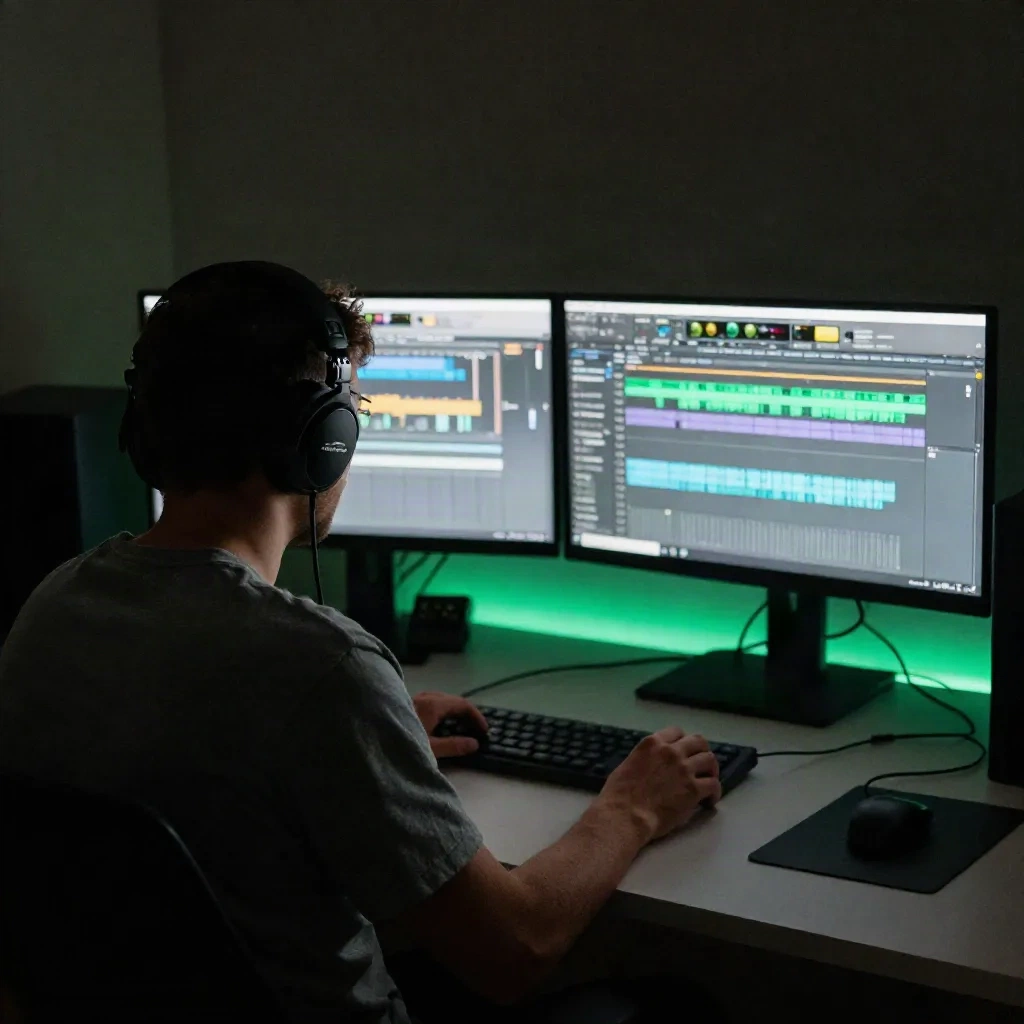
Real-time AI noise cancellation intercepts your signal before it reaches OBS, your DAW, or any conferencing software. It runs as a virtual audio device. You set Krisp as your microphone input in OBS, and OBS receives a signal that's already cleaned before recording begins.
Post-production tools work on files you've already captured. Adobe Podcast Enhance Speech, ElevenLabs Voice Isolator, and Auphonic all operate this way: upload the file, download the processed version. The quality ceiling is higher because the model has access to the full recording rather than a rolling buffer. The trade-off is that you can't fix a live stream after it's broadcast.
Which approach you need comes down to one question: when is the noise actually a problem?
If you're recording dry audio to mix later, post-production is the better path. You get more control, more processing power, and the ability to A/B before committing. If you're streaming live, real-time is the only viable option. You can't send your Twitch stream through Adobe Podcast after the fact.
Some setups use both: Krisp running live to keep the stream clean, plus a post-production pass on stream VODs before uploading to YouTube. That combination covers both use cases without compromise.
Krisp: Tested at 48 kHz, 10 ms Added Latency
Krisp installs as a virtual audio driver and appears as a selectable microphone in any application that takes audio input. You set OBS to use Krisp Microphone as its source, and Krisp processes the signal in real time, then passes cleaned audio to OBS.
In testing on a Focusrite Scarlett 2i2 at 48 kHz sample rate and a 64-sample buffer, the latency Krisp adds measured between 8 ms and 12 ms depending on CPU load. At that range, it's transparent for streaming and podcast recording. It becomes an issue if you're recording with headphone monitoring through your DAW and expecting zero-latency direct monitoring. You'll hear your voice twice: once direct through the interface, once 10 ms later through Krisp.
Noise suppression depth is adjustable in the Krisp interface from 0 to 100%. At 60% suppression with a decent cardioid mic, keyboard clicks and laptop fan noise drop by roughly 18 dB. At 100% on a low-SNR signal (mic gain above +50 dB with a dynamic mic in a noisy room), the model clips consonant energy in the 2-6 kHz range. Sibilants get dulled. The voice sounds slightly processed.
The sweet spot for most home setups is 60-70% suppression with clean gain staging from the interface. Set your gain so the loudest peaks hit -12 dBFS before Krisp, and suppression at 65% keeps artifacts below the threshold where listeners notice.
Two cases where Krisp is the right call: Twitch and Kick live streams, and podcast recording sessions where you want clean stems from the start without a post-production step. One case where it isn't: critical music recording where 12 ms of added latency creates alignment issues between your voice and instrument tracks.
Adobe Podcast Enhance: Post-Production Without a Subscription
Adobe Podcast Enhance Speech is free at the basic tier, accepting files up to 30 minutes per upload and 1 hour per day. It takes WAV, MP3, or AAC, processes on Adobe's servers, and returns a cleaned file. The model is voice-optimized, which means it handles speech intelligibility well and handles music content poorly. Don't run a mixed stem through it.
For stream VODs with a messy audio track, upload the exported audio and the Enhance model will attenuate background noise and apply a light presence boost to your voice. It does not add compression or limiting, so you'll still need a loudness pass to hit the right integrated loudness for distribution. Target -14 LUFS for YouTube, -16 LUFS for Twitch VOD.
The output quality is better than OBS's built-in noise suppression filter but less aggressive than Krisp at maximum suppression. On a recording that has consistent background noise (a running AC unit, a constant laptop fan), it works very well. On a recording with variable noise (traffic, voices in another room), the results are inconsistent.
ElevenLabs Voice Isolator: For Extreme Noise Situations
ElevenLabs Voice Isolator is the tool for recordings that are genuinely bad. Wind noise. Outdoor recording with crowd background. A conference recording where someone left a window open facing a construction site.
The model is aggressive. It isolates the primary voice and discards almost everything else, including room ambience and reverb tail. The output sounds clean but processed, particularly in the 4-8 kHz air region where presence and breath noise used to live. For archival recovery or one-time rescues, that trade-off is acceptable. As a daily workflow tool, the processing character becomes detectable over time.
The practical use case on a streaming setup: you have a VOD from a live session where something went wrong with your noise chain, and you need usable audio for the highlight clip. Voice Isolator can recover it. For routine streams where everything is working, you don't need it.
What Actually Breaks AI Noise Removal
All AI noise removal tools fail when the noise carries harmonic content that overlaps your voice. Traffic noise concentrated below 200 Hz is straightforward to remove. A TV playing in the adjacent room, with speech at the same fundamental frequencies as your voice, sitting at 200-4000 Hz, is a different problem. The model cannot isolate two voice signals at a similar signal-to-noise ratio.
The second failure mode is transient loud noise. A door slam. A dog barking. A phone notification. These transients hit faster than the model's processing window, which typically runs at 20-50 ms. The transient doesn't get removed; it gets smeared. The artifact sounds like a brief dropout or a pitch warble on whatever word was mid-utterance when the transient arrived.
The third failure mode is over-processing. Running Krisp at 100% into Adobe Podcast Enhance at full intensity into OBS noise suppression at maximum does not produce cleaner audio. It produces double-processed speech that sounds like a phone call from 2009. One tool per stage.
In all three failure cases, the solution is acoustic, not software. Moving the mic to 6-10 cm from the capsule for a cardioid pattern, adding a simple reflection filter mounted behind the mic, or closing a door all reduce the noise floor before any processing touches it. Software gets you 70-80% of the way there. The last 20% is always physical.
AI Voice Tools and the Clean-Input Advantage
If you're using AI voice cloning or text-to-speech for any part of your production workflow, input quality matters more than most people expect. Fish Audio, ElevenLabs Studio, and similar tools train or condition voice models on the audio you provide. A model built from clean source recordings consistently outperforms one trained on noisy material. Thirty minutes of clean audio captured with noise removal applied will produce a better voice model than three hours of material recorded in a noisy room.
The same applies to CapCut's AI audio enhancement if you're editing stream VODs for YouTube or TikTok. CapCut's noise reduction runs as a one-click step on the audio track, which handles the majority of consistent background noise without manual parameter tuning. It's not as precise as dedicated tools, but it's fast enough for social content where export speed matters more than studio-grade output.
The OBS Chain That Holds
The chain that works consistently for streaming: interface at unity gain with a cardioid mic at 6-10 cm, Krisp set as the virtual input at 60-65% suppression, then an OBS noise gate (close threshold at -32 dB, open threshold at -26 dB), then OBS Noise Suppression filter at -15 dB as a secondary layer.
The OBS suppression catches the noise floor that Krisp doesn't fully suppress. The noise gate handles the periods when you step back from the mic, preventing dead air from carrying ambient noise into the stream.
For VOD audio after recording: export the audio track, run it through Adobe Podcast Enhance Speech if the noise floor is above -50 dBFS, then master to -14 LUFS integrated and -1.5 dBTP true peak for YouTube, or -16 LUFS for Twitch VOD clips.
Krisp for live. Adobe Podcast for post. You don't need both running simultaneously. You need to know which problem you're actually solving, and to set your gain staging correctly before either tool touches the signal.